Contents 6
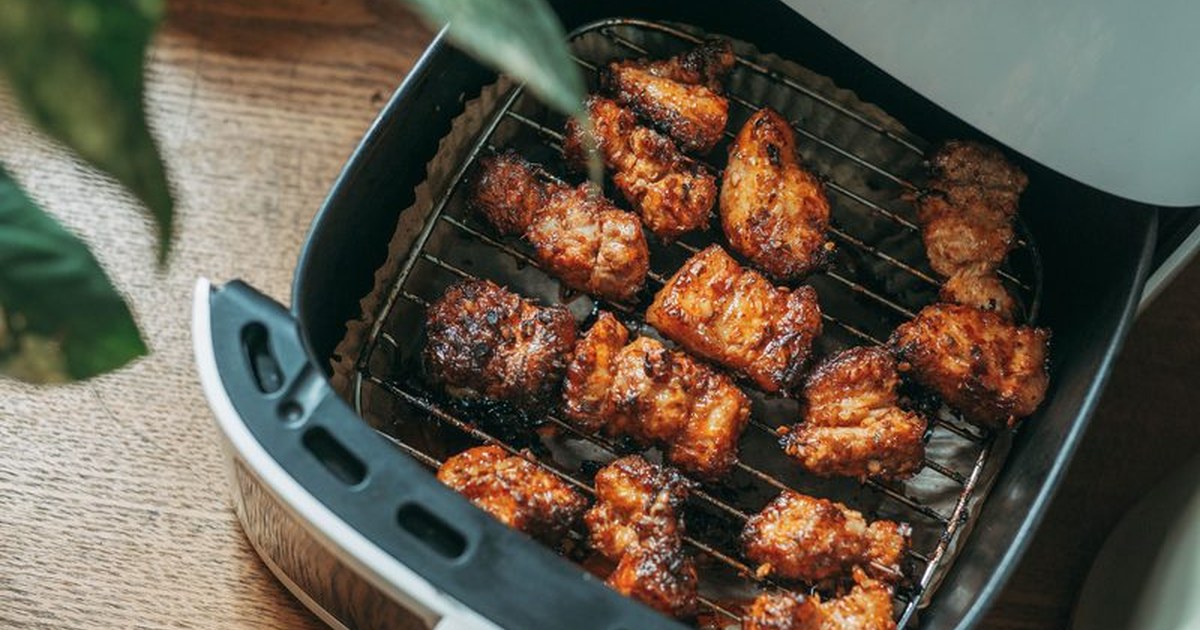
Chicken breast is probably the food most people start cooking in the air fryer: cheap, versatile and easy to have ready for the week. The problem is that it's also the one that dries out most. In this recipe I'll show you how I prepare it for meal prep, with approximate times and temperatures, and with the tricks that really make the difference between a juicy breast and a shoe sole.
What you need
For 2-3 meal prep portions (you can double the quantities without a problem):
- 2 whole chicken breasts (or 4 thick fillets). Ideally of similar thickness: they cook more evenly.
- 1 tablespoon of extra virgin olive oil (yes, a little: it helps keep it from sticking and helps it brown).
- Salt and black pepper.
- Spices to taste: paprika, garlic powder, oregano, cumin, curry... Whatever you have.
- Optional: lemon juice, mustard or plain yogurt for a quick marinade.
- A kitchen brush and parchment paper or an air fryer-safe basket/tray.
- A meat probe thermometer (recommended, not required).
Extra equipment that's handy for meal prep: glass containers with lids, paper towel and labels or tape for dating.
Preparation: the steps that matter
1. Even out the thickness. If the breast is much thicker on one side, butterfly it or lightly pound it with the heel of your hand until it's more or less uniform. This does the most to make it cook evenly inside without burning outside.
2. Season and let it rest. Salt and spices on both sides, a little oil, and massage it in. If you have 15-30 minutes, leave it marinating in the fridge. You don't need more.
3. Preheat. Preheat the air fryer for 3-5 minutes at 180 °C (350 °F). Every model heats differently: those with a large basket take longer, compact ones less. If your appliance has no preheat function, run it empty for that time.
4. Cook. Place the breasts without crowding, with space between them. If they don't fit comfortably, do it in two batches: crowding them is the fastest way to end up dry outside and raw inside.
- Approximate temperature: 180 °C (350 °F).
- Approximate time: 12-18 minutes for fillets 2-3 cm thick, flipping halfway.
What does that range depend on? The air fryer model (power and basket size), the amount you put in at once, the real thickness of the piece, and whether it's at room temperature or fresh from the fridge. That's why the first attempt is always a test: start at the short end of the time and check.
5. Check for doneness. Poke the thickest part. If you have a thermometer, the food safety reference I use is the one from official bodies such as EFSA or the USDA: poultry must reach a high enough internal temperature to be considered safe. Check the current figure at the official source before trusting your memory; if you don't have it handy, cut into the piece and check that there's no pink meat or pink juices in the centre. (I don't give internal temperature figures here because I haven't verified them against a source at the time of writing; better that you check them on the official website of the relevant agency.)
6. Rest before cutting. Take the breast out and leave it 5 minutes covered with a plate or aluminum foil. That rest redistributes the juices and keeps them from escaping when you cut.
7. Cool and store. For meal prep: let it cool at room temperature just long enough (not hours), slice it or leave it whole, and store it in a closed container in the fridge. As a general reference for storing cooked food, follow the official guidelines of your country (for example, the food safety guidelines of the USDA in the US). Don't make up timeframes: check the guide and label the container with the date.
How I use it during the week
- Cold: chicken salad, sandwich, wrap with vegetables.
- Reheated: 2-3 minutes in the air fryer at 160 °C (325 °F), or in a pan with a splash of water and a lid. Reheating too long dries it out again.
- In hot dishes: add it at the end of the vegetable stir-fry, not at the beginning.
- Freezing: if you're going to freeze it, do it in portions and follow the official thawing recommendations (in the fridge, never at room temperature).
Tips and common mistakes
- Mistake: putting it in frozen without adjusting. Frozen, it needs more time and the centre takes a while to cook. If you use frozen chicken, thaw it first in the fridge and follow the food safety guidance of the manufacturer or an official agency.
- Mistake: crowding. A single layer, with air around it. If in doubt, two batches.
- Mistake: cutting it right out of the air fryer. Rest it. It's the step that saves the most juiciness.
- Marinade trick: a bit of plain yogurt or mustard helps keep the surface from drying out as much. With lemon and spices it also turns out very tasty.
- Sauce-at-the-end trick: if you're storing it for several days, store it without sauce and add it when plating. That way it doesn't go soft.
- Adjust to your appliance: write down on a piece of paper the times that work with your model. It's the best way to stop guessing.
- Don't promise miracles: chicken in the air fryer is a convenient, low-oil way to cook protein. It's not a magic wand and it doesn't replace a varied diet.
Note
The times and temperatures in this recipe are approximate and depend on the air fryer model, the amount of chicken you cook at once, the thickness of the pieces and their starting temperature. Adjust to your appliance and always check that it's cooked through before eating. I don't include nutritional or calorie figures because I haven't verified them against a public source at the time of writing this article; if you need them, check an official database or a professional. For storage, freezing and safe internal temperatures, follow the guidelines of your country's official food safety agency.