Contents 9
- To start: which dishes work well and which are better left for another day
- What you'll need (and you don't have to buy anything unusual)
- Steps with approximate times and temperatures
- 1. Potato wedges
- 2. Chicken wings or drumsticks
- 3. Frozen croquettes or turnovers
- Tips and common mistakes on day one
- Note
- Keep reading
You've taken the air fryer out of the box, plugged it in, and now you're looking at it the way you'd look at a bread machine: with respect and a little fear. That's normal. It was the same for me the first time. The good news is that this machine is fairly forgiving, but it's not an oven or a frying pan: it's a small hot-air oven that moves the air very fast. If you start with simple dishes, you'll get the hang of it in two or three uses and you won't want to put it down.
In this guide I'll tell you what to cook in an air fryer on day one, with approximate times and temperatures (I always say this: they depend on your model, the amount you put in and the thickness of each piece) and the mistakes I see most often when someone is starting out.
To start: which dishes work well and which are better left for another day
The golden rule for day one is to cook things you already know that don't need a lot of batter or sauce. The air fryer cooks with hot air moving around the food; the thinner and looser the pieces, the easier it is to get good results.
Good candidates to start with:
- Potato sticks or wedges, cut thin and dried well.
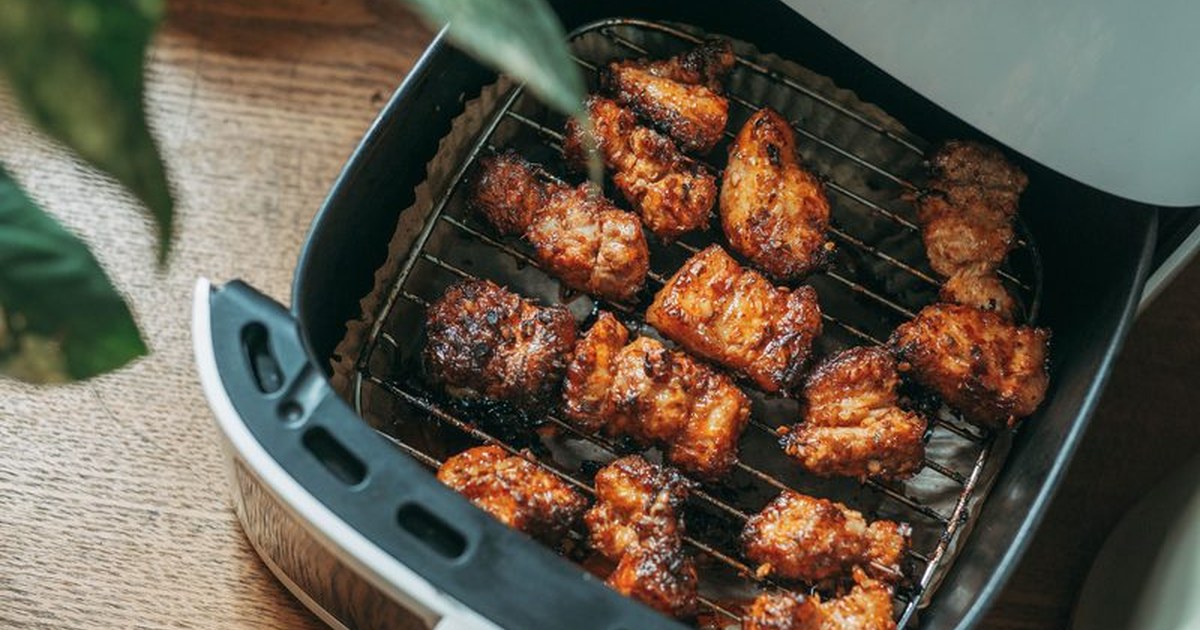
- Chicken: wings, drumsticks or breast in thin cutlets.
- Vegetables in even pieces: zucchini, bell pepper, onion, mushrooms.
- Frozen croquettes and turnovers, the classic first-use choice.
- Bread for toasting or a hot sandwich.
Better left for the second or third day: liquid batters (pancakes, small cakes), dishes with lots of sauce or melted cheese on top from the start, and very large, thick pieces, because the centre takes longer than the outside.
What you'll need (and you don't have to buy anything unusual)
- The air fryer basket or tray, clean and dry.
- Parchment paper that can withstand the heat, only if you need it for delicate things. Careful: don't put it in loose and empty, because the fan can lift it.
- A pastry brush and a little oil. There's no need to drench anything; a thin coating is enough to get some colour.
- Tongs or a spatula to flip the food halfway through cooking.
- A bowl to toss the potatoes or vegetables with the oil before they go in.
- A kitchen thermometer, if you have one. It's not required, but it helps when cooking chicken.
You don't need oil for deep frying. That's the first difference from a traditional deep fryer.
Steps with approximate times and temperatures
I suggest a first day with three preparations that can be made in batches: potatoes, chicken and croquettes. That way you test the machine with something easy, something intermediate and something frozen.
1. Potato wedges
- Wash and cut the potatoes into wedges of similar thickness. The more even they are, the better they cook.
- Dry them well with a cloth. Moisture is the enemy of crispiness.
- Toss them in a bowl with a drizzle of oil and salt. They should be glossy, not soaked.
- Put them in the basket without piling them up, in a single layer or nearly.
- Cook at about 200 °C (400 °F) for 15-20 minutes, shaking the basket or flipping them halfway. The time depends on the thickness of the wedge and the amount: if you pack them in, they need longer.
2. Chicken wings or drumsticks
- Dry the chicken well and rub it with a little oil and whatever spices you like (paprika, garlic powder, rosemary).
- Place it in a single layer, with the pieces not touching.
- Cook at about 180 °C (350 °F) for 20-25 minutes, flipping halfway. Wings are usually done sooner than drumsticks; thickness rules.
- If you have a thermometer, check the centre of the thickest piece. If you don't, cut open a piece: the juices should run clear and the meat shouldn't be pink inside.
3. Frozen croquettes or turnovers
- Don't thaw them: they go straight from the freezer into the basket.
- Place them apart, without stacking.
- Cook at about 190-200 °C (375-400 °F) for 8-12 minutes for croquettes and a bit longer for turnovers, depending on size. Shake the basket halfway.
- Watch the end: they go from golden to dark in a couple of minutes.
Tips and common mistakes on day one
- Filling the basket to the top. This is mistake number one. The air has to circulate; if you pile food up, it steams and comes out soft. Better two batches than a mountain.
- Drenching the food in oil. A drizzle and a toss in a bowl is enough. Leftover oil stays at the bottom and burns.
- Not drying the potatoes or chicken. Moisture stops browning. A clean cloth works wonders.
- Not moving the food halfway through. The air fryer can't see the food: you're the one who has to shake it or flip it.
- Trusting the clock and not your eyes. The times are a guideline, not a law. Open it, look, poke and decide.
- Using loose parchment paper. If there's no weight on top, the fan lifts it and it can touch the heating element.
- Cooking liquid batters without a mould. For pancakes or small cakes, use a mould that fits in the basket.
- Cleaning only the basket. Also check the heating element and the base once the machine is cold, following the manufacturer's instructions.
And one last tip from a cook: write down what you do. A notebook with "potatoes, 200 °C, 18 min, turned out well" saves you from repeating tests. Every air fryer is a little different, and so is your kitchen.
Note
The times and temperatures in this guide are approximate. They depend on the air fryer model, the amount of food you put in the basket and the thickness of each piece. Always adjust by looking at your food and follow your appliance manufacturer's instructions. I don't give figures for calories, nutrients or health claims: that requires a public source to back it up and I don't include one here.